Key Takeaways
- A wet and dry kitchen layout splits cooking work between two zones with very different surface demands. Getting the material right for each zone is what kitchen surface planning is really about.
- The wet zone handles daily wok cooking, high heat, grease, and strong cleaning chemicals. Kitchen worktop Singapore wet zones need to handle all of that without needing to be sealed or babied.
- The dry zone is for lighter work and entertaining. Stone counter design here can focus more on how it looks and how it connects to the living space, since the wet zone takes the punishment.
- When both zones share a tone direction or the same material, the kitchen reads as one considered space rather than two rooms that happen to be next to each other.
- Seam placement, how cutout corners are cut, and edge shape all need to be sorted before any slab gets templated. These decisions matter just as much on the dry side as the wet.
Introduction
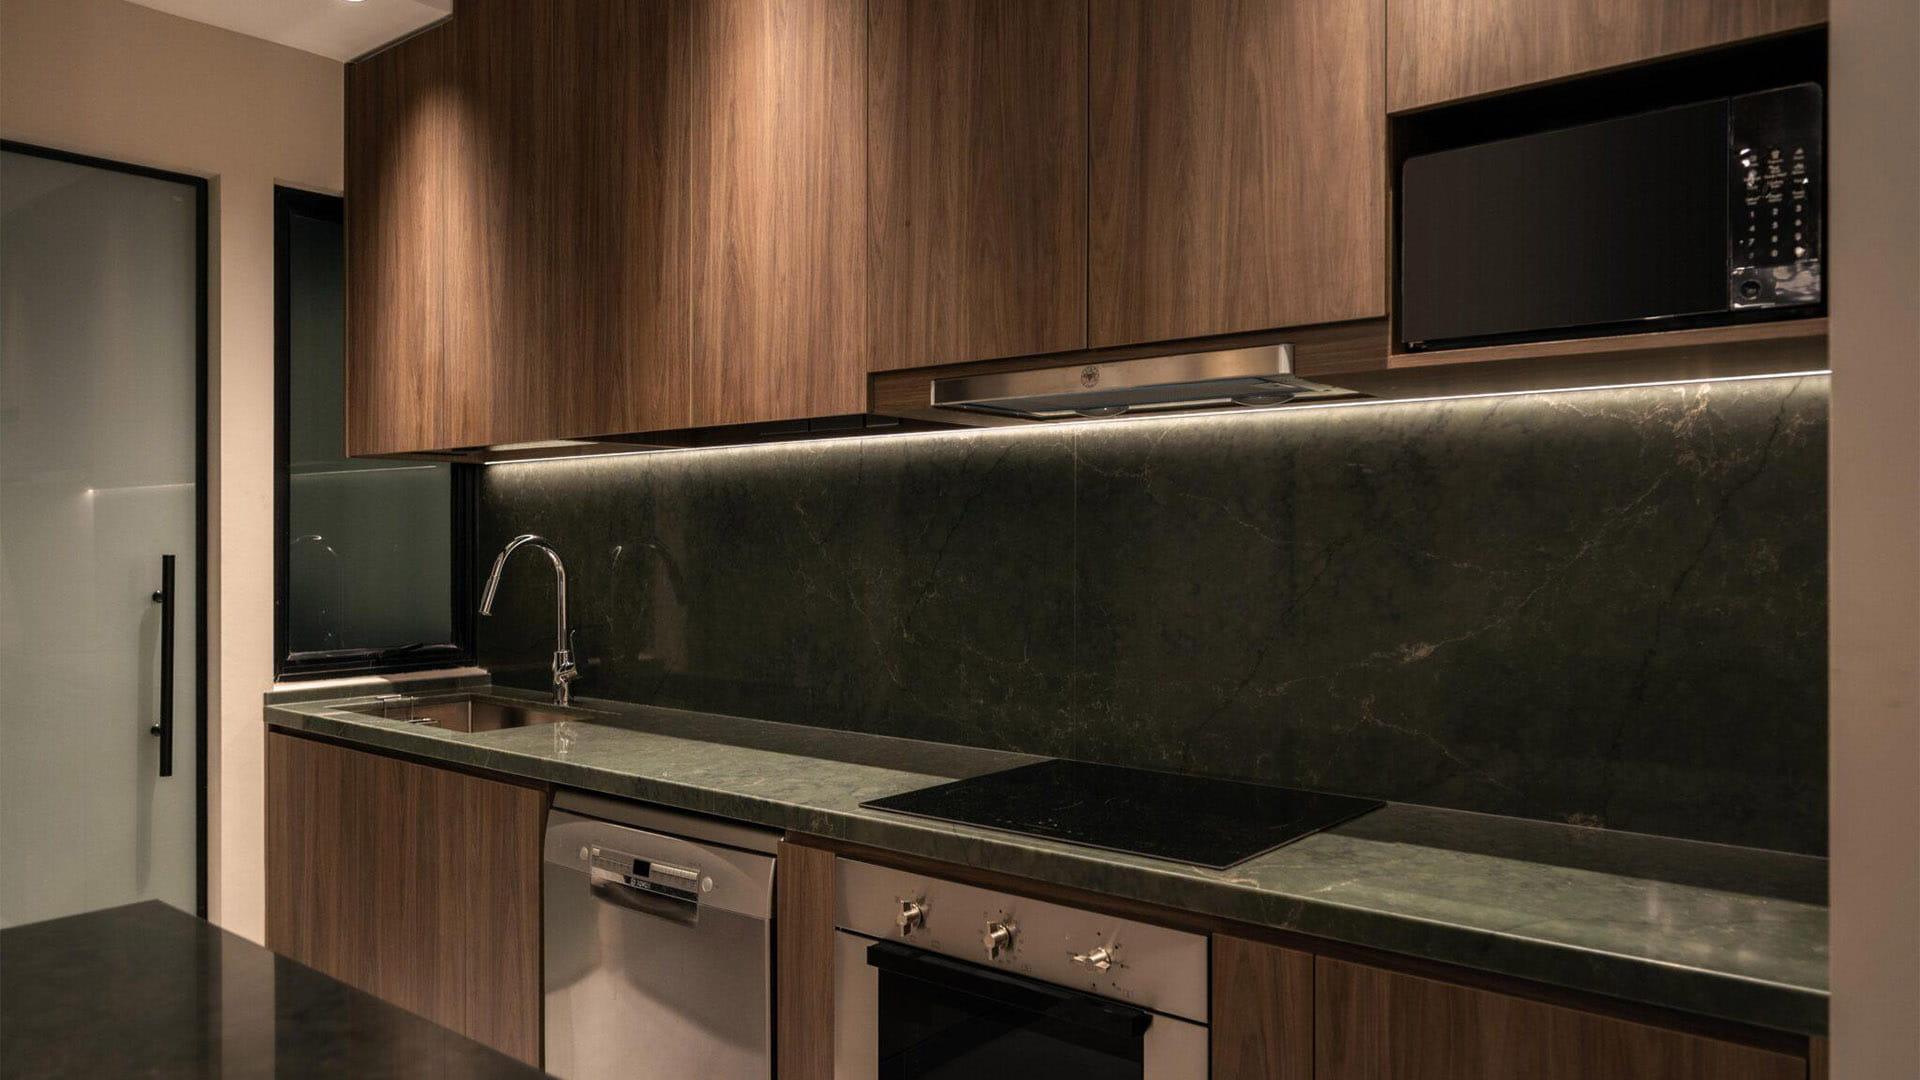
Singapore kitchens work hard. Most households cook with high heat regularly and do not hold back on the cleaning products when things get greasy. That is exactly why the wet and dry kitchen layout became popular here. The wet zone absorbs the intense cooking work. The dry zone handles lighter prep. Yet most renovation briefs miss that each zone has a completely different surface brief.
Surface planning for a wet and dry kitchen layout starts with understanding what each side actually goes through every day.
What a Wet Kitchen Worktop Has to Handle
The wet zone is not gentle on surfaces. Wok cooking at high heat, deep frying, and extended hob use. The worktop around the hob and sink takes heat radiation, grease vapour, food acids, and steam every meal.
Then there is the cleaning. After a heavy wok session, degreasers, bleach sprays, and abrasive wipes come out. A split kitchen requires the wet zone to handle intensive cooking conditions, with surfaces that are easy to clean and durable enough to last. Your kitchen worktop in Singapore’s wet zone cannot depend on a sealing routine. It also cannot react badly to whatever cleaning product someone grabs.
Three things matter most here. First, heat resistance directly behind the hob. Sintered stone handles direct heat contact without reacting. Engineered quartz has resin in it that can discolour under sustained high heat, so where it sits relative to the hob matters. Second, resistance to cleaning chemicals. Both sintered stone and quartz without sealing hold up to the products that end up on a Singapore kitchen worktop without getting damaged. Third, no sealing needed. A wet kitchen is not the place for a material that requires maintenance to stay in good shape.
Our guide to sintered stone kitchen tops covers how the material handles wet zone conditions in Singapore.
What the Dry Kitchen Can Do Differently
The dry zone works at a much lower intensity. Light prep, coffee, serving, weekend breakfast. Because the wet zone takes the heat and the chemical exposure, the surface on the dry side can make different choices.
So stone counter design in the dry zone gets to focus on how it looks and feels, not just on performance. Textures that show character, materials with natural variation, finishes that are a little more delicate. These all make more sense in the dry zone. The dry zone worktop is often the surface most visible from the living or dining area. How it reads from that angle is worth factoring into the material and finish choice.
For kitchen worktops in Singapore dry zones, engineered quartz is a strong option for consistent colour and easy upkeep across a wide range of finishes. Our overview of kitchen countertops Singapore covers how the main materials compare for these conditions.
Backsplash Choices Across Both Zones
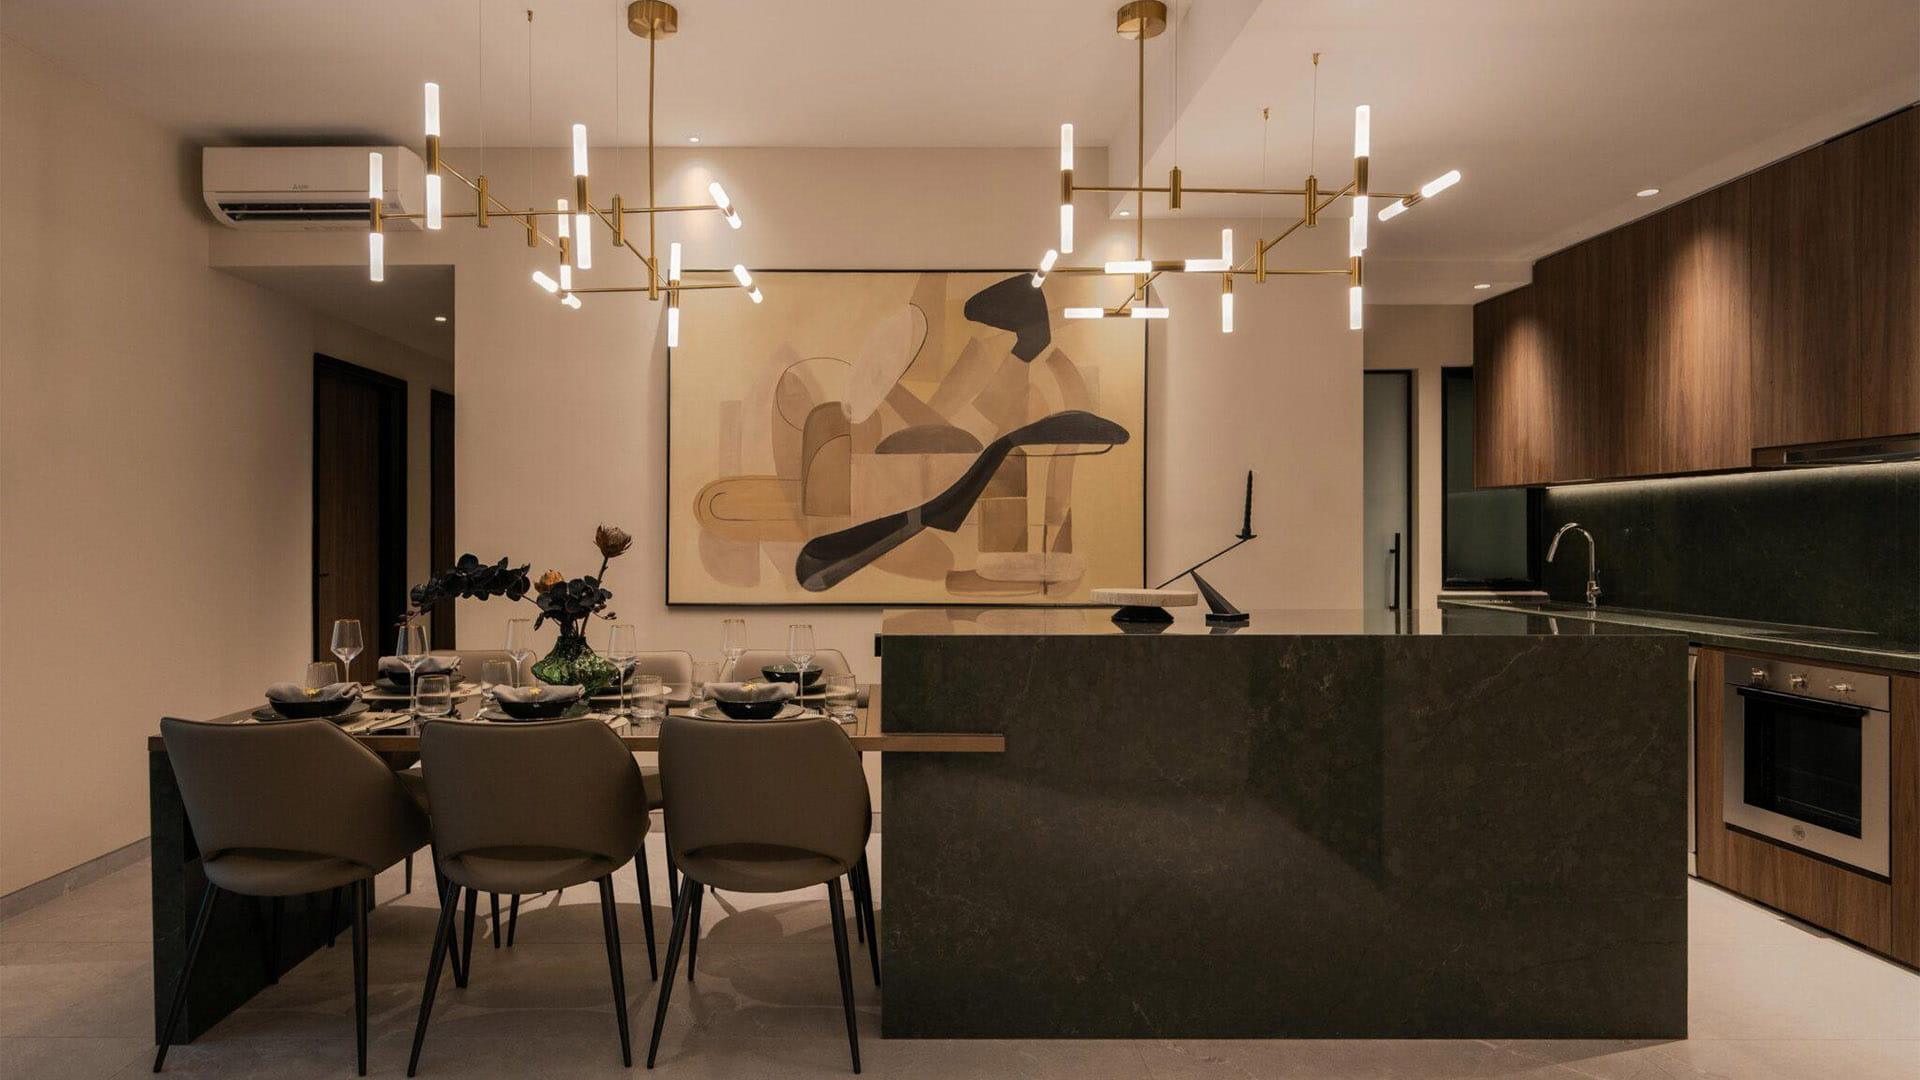
The backsplash behind the hob and the backsplash in the dry kitchen are doing entirely different jobs.
Behind the hob, the backsplash takes direct heat, grease, and steam every time you cook. It also gets cleaned the most aggressively. Running sintered stone from the worktop up the wall creates a surface with no grout lines, which wipes clean after cooking. No residue gets trapped, no scrubbing needed. Tiles look fine when they go in, but grout behind the hob in a Singapore cooking kitchen is a maintenance commitment most homeowners eventually abandon.
The dry zone backsplash does not face any of that. The decision there is mostly visual: how it ties the dry kitchen together and how it looks from the living space.
A good approach: run the same material across both backsplash zones at a consistent height. Use a full sintered stone panel directly behind the hob where no-grout performance is essential. This gets the right surface where it matters without covering every wall in the wet zone.
Our backsplash guide on when stone surfaces make sense covers these zone-specific choices.
Making Both Zones Feel Like One Kitchen
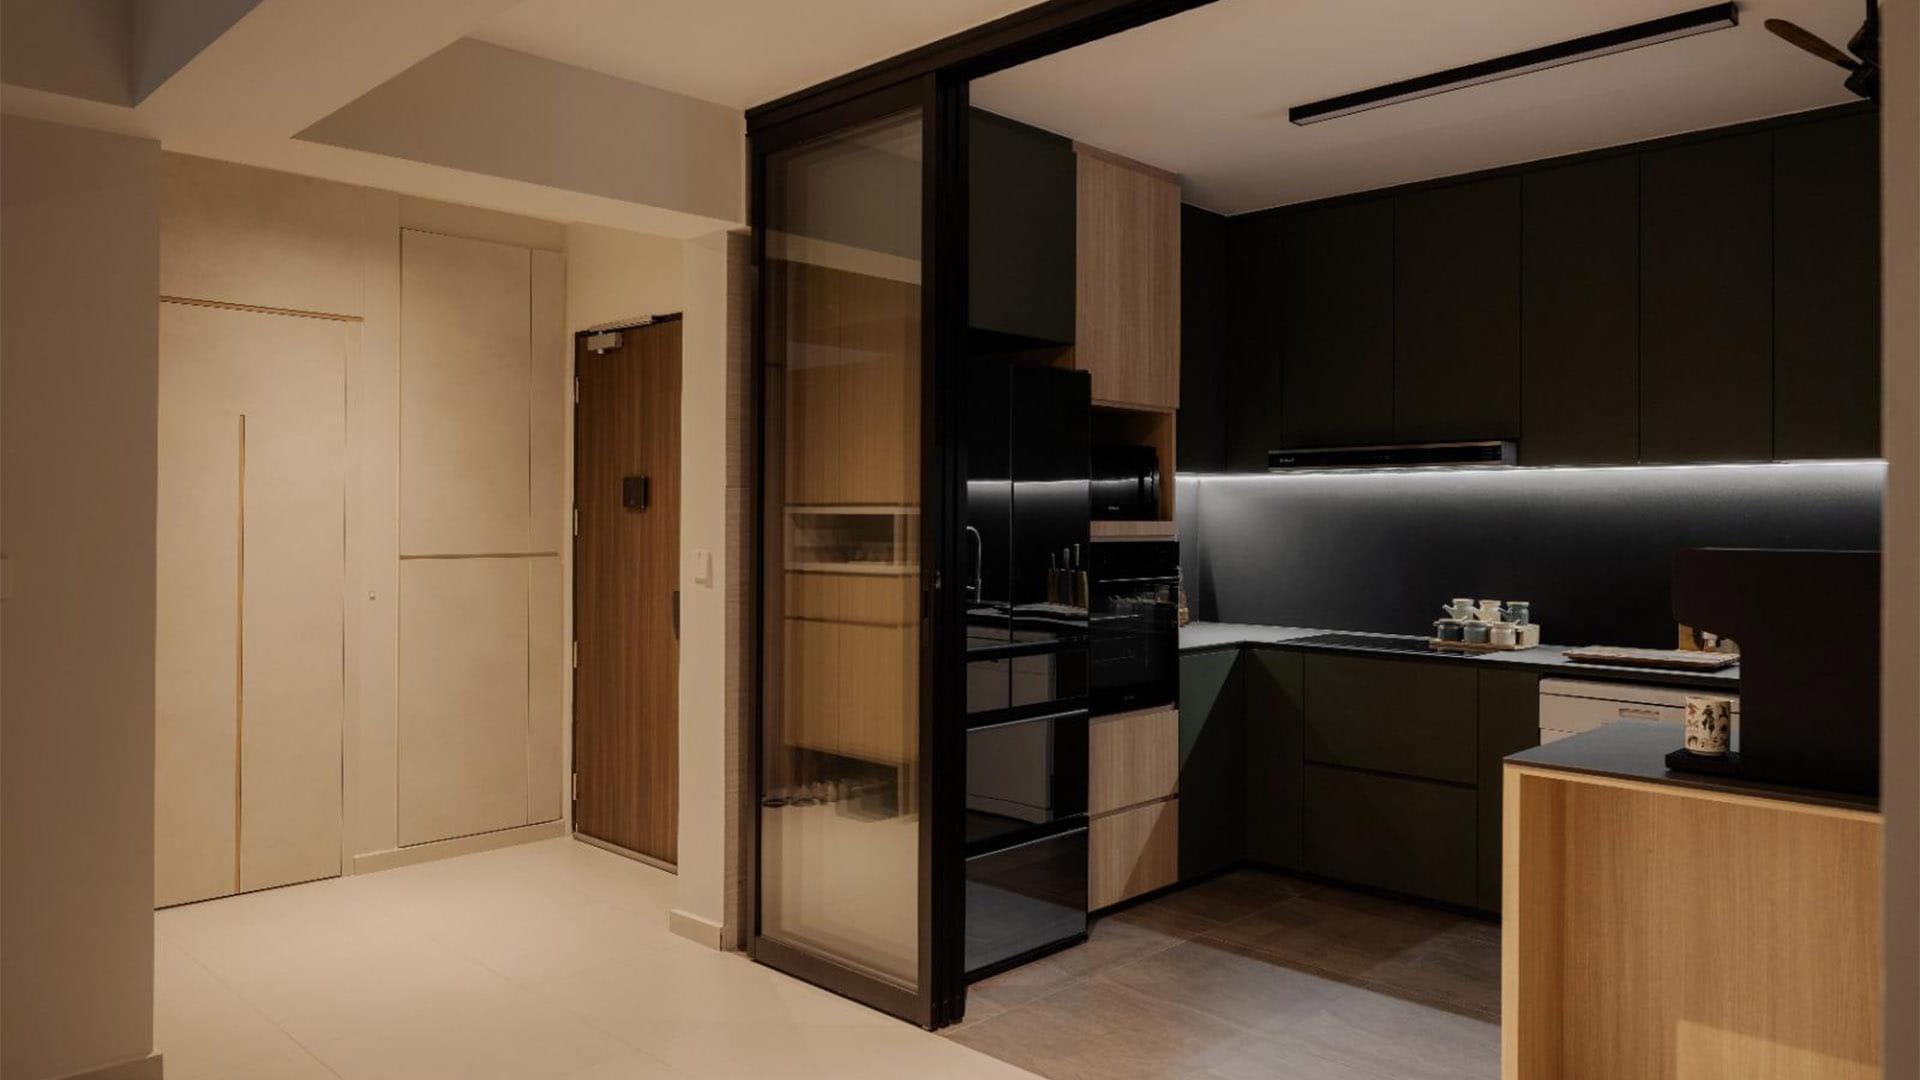
A wet and dry kitchen layout can easily end up looking like two rooms that were decorated separately. The way to avoid that is through surface continuity.
The most straightforward approach is to run the same material through both zones. Sintered stone suits both the performance demands of the wet side and the aesthetic priorities of the dry side, so it bridges both without any compromise.
If you go with different materials for each zone, keep the tone and finish in the same family. A warm concrete-grey worktop in the wet zone and a warm ivory in the dry zone read together. A polished white on one side and dark honed slate on the other do not, even when each choice is individually good.
“A split kitchen tells its surface story through how the two zones relate to each other. When the materials are chosen together, both sides feel considered. When they are chosen separately, the gap shows.”
Details That Matter in Both Zones Before the Slab Gets Cut
Some decisions feel like small technical matters but end up affecting how well the kitchen holds up. These apply on both sides of the split.
Seam position
In the wet zone, a seam at the main cooking or prep area becomes a hygiene issue. Grease and cleaning products get into it with every meal. So a seam placed away from that zone is much easier to keep clean. In the dry zone, seam position is more of an aesthetic call. Avoid landing on a focal grain line or a section of the worktop that faces straight into the living space.
Edge shape
In the wet zone, rounded or softened edges at corners take daily contact and chip less readily. In the dry zone, pick an edge shape for how it looks, since contact is lighter. But corners of an island or peninsula facing the living area should always be rounded, whatever zone they belong to.
Inside corners at sink and hob openings
These need to be cut as curves rather than sharp right angles. A sharp inside corner creates a weak point that can crack over time from small temperature changes, not from anything the homeowner does. This is a kitchen surface planning decision made before the slab is cut. Easy to specify, hard to fix after the fact. Our guide to stone surface installation questions covers this for both zones.
Frequently Asked Questions

1. What surface material works best for the wet zone in a wet and dry kitchen layout?
Sintered stone holds up best. It handles direct heat without reacting, does not need sealing, and resists the cleaning chemicals that come out after a heavy Singapore cooking session. Engineered quartz is a close second but works better away from the hob, since its resin content is sensitive to sustained high heat. Avoid any material that relies on sealing in the wet zone. It will eventually get skipped.
2. Can I use the same stone counter design across both zones?
Yes, and it is often the easiest way to make the kitchen feel like a whole. Running the same material through both zones creates visual unity and keeps fabrication simpler. If different materials work better for each zone, keep the tone and finish in the same direction so the split does not read as two unrelated decisions.
3. How does backsplash planning change in a split kitchen layout?
Behind the hob, you want a surface with no grout lines that handles aggressive cleaning. Sintered stone works best here. In the dry zone, the backsplash is mainly a design choice: how it looks from the living space and how it ties the dry kitchen together. Since those two zones do not face the same conditions, they do not need to match exactly. But staying in the same material family or tone keeps the split from looking jarring.
4. Where should seams sit in each zone?
In the wet zone, keep seams away from the main cooking and prep areas where grease collects. In the dry zone, position them to avoid drawing the eye away from feature graining or sections that face directly into the living space. In both zones, seam position should be settled with your fabricator before the template is taken.
5. Should edge profiles match in both zones of a wet and dry kitchen layout?
Not necessarily. Rounded or softened edges at corners taking daily knocks hold up better in the wet zone. In the dry zone, you have more room to choose an edge shape based on how it looks. Corners of an island or peninsula that face into the living area should always be rounded regardless of which zone they belong to.
Surface planning for a wet and dry kitchen layout is where small choices end up mattering for years. Get both zones specified for what they go through, choose materials that read together, and sort the fabrication details before anything gets cut. Planning a split kitchen in Singapore? Visit us at 16 Joo Koon Circle or get in touch at tsd.enquiry@gmail.com.